Here is a short video tutorial to make a paper bow for packages, invitations, or wreaths. This is a great project for the holidays to make presents stand out underneath the tree.
Here is a short video tutorial to make a paper bow for packages, invitations, or wreaths. This is a great project for the holidays to make presents stand out underneath the tree.
Here are six items that you probably have around the house but can’t find a practical use for. Well now is the time to transform them and create something totally new and innovative. With just a little elbow grease and some time you can have one-of-a-kind pieces that the neighbors will surely envy.
Ladder Turned Bookshelf: Flip a simple ladder horizontally, stick it in a corner, hang it, and voila. Instant eclectic bookshelf.
Teacup Pendant Lights: Tired of staring at your old, unused china? Upcycle those saucers and tea cups to make dainty pendant lights. Since I am not an electrician, I’ve found a tutorial that spells out each step.
Suitcase Night Stand: Now this project is as easy as can be. Just stack a couple of suitcases on top of each other and add a tray, mirror, or tabletop surface to finish it off if you so desire.
Drawers to Bookcase: If you have an old dresser that isn’t being used, this transformation is for you. Take the drawers out of the old dresser and saw them in half parallel to the front of the drawer. If you want a deeper space to store your goodies in, don’t saw as much of the drawer off.
Shutter Organizer: Take a shutter and hang it on a wall in your office or entryway to create a wall organizer. Add key hooks to the bottom of the shutter for even more functionality.
Suitcase Shelves: Just because I’m slightly obsessed with vintage suitcases, I thought I would give you one more clever craft to incorporate them. Here is another simple tutorial to help you along the way.
Your tired old pieces are just waiting to be transformed. So change them. Ready, set, go.
-Olivia

Photo via annmarieandme.blogspot.co.uk
Looking for a way to spice up your boring door? Try a wreath. And what better way to personalize your door than with a monogram? Here is a simple tutorial on making your own floral monogram letter to hang on a door. This craft project is based off of a post on annmarieandme.blogspot.co.uk.
First, find a sturdy cardboard or paper mache letter. You can buy them online or at stores like Michaels or Hobby Lobby.
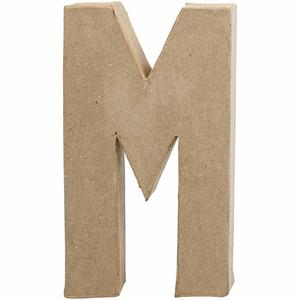
Found on ebay.com
Then, using a box cutter, cut off the top face of the letter to make the letter hollow.
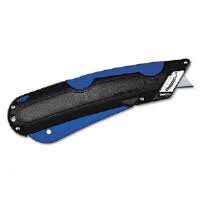
Found on officsupersavers.com

Photo via urbanicpaper.com
Then, as the picture above shows, cut up green styrofoam to fill the space inside your letter.

Found on craftforless.com
The next step is to pick your favorite flowers to stick inside the styrofoam. For this tutorial I found some faux flowers to use so the wreath will laster longer.

Photo via shimmerzpaintsed.blogspot.com
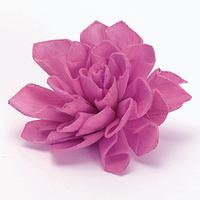
Found on afloral.com

Found on theblingthing.com
Cut stems if necessary and stick the flowers into the styrofoam. If the flowers do not have stems, attach them to the wreath with a hot glue gun.
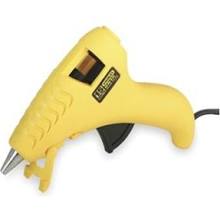
Found on zorotools.com
Simply fill the inside of your wreath with as many flowers as you like. Glue ribbon or twine to the back of the letter so it can hang on a door. To make a more seasonal wreath, try using leaves, berries, or other types of foliage instead of flowers.
Happy decorating,
Olivia
Are papers piling up around you leaving your desk looking like a dumping ground? All you need are a couple of quick organizational tricks. Here are five simple solutions to get you started.

Photo via iartublog.com
Utilize clothespins and string for this super simple way to organize photos, sticky notes, or other important papers. Tie any type of string or ribbon to clear Command hooks and hang them with a little slack so the string has a little bend in it. Attach clothespins and you are done.
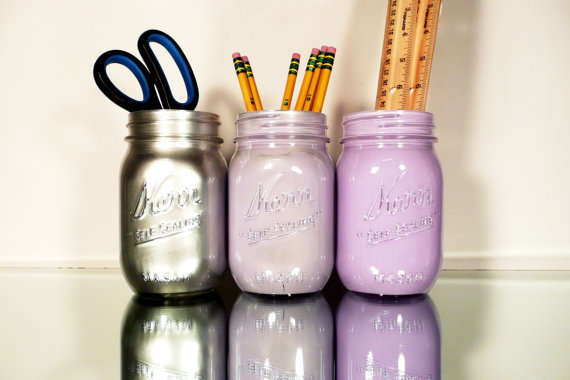
Photo via wanelo.com
To make these colorful jars, take any glass jar you can find and pick out your favorite colors of acrylic paint. A good, cheaper brand for paint is BASICS. With a brush, evenly coat the inside of the jars with paint. If the consistency of the paint is slightly runny, you can put the paint in the jars, screw on the lids, and shake the jars until the paint coats the insides completely.
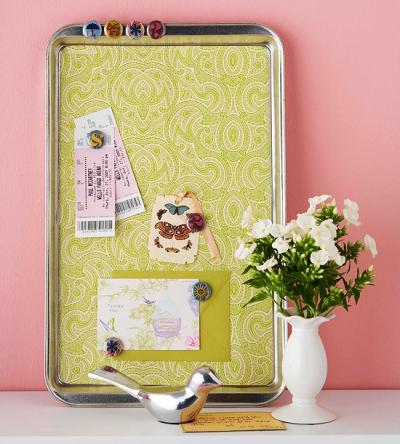
Photo via themombot.com
For a low-cost magnetic board use a cookie sheet. Make sure the sheet is magnetic, then find wrapping paper or scrapbooking paper that goes with the rest of your office. Cut the paper to fit inside the cookie sheet and then use an adhesive, like Mod Podge glue to seal the deal. Find cute magnets to keep your papers in one spot. This picture was also featured on bhg.com.
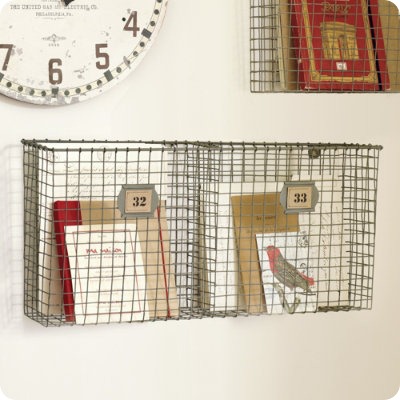
Photo via 320sycamoreblog.com
Wire baskets are a wonderful way to organize papers and documents without taking up valuable drawer space. The baskets make grabbing items quick from a desk or chair. There are a variety of different designs that can be hung. Some of my favorite options include the Ryan Wire Baskets from World Market, the half moon wire wall basket from Terrain, and the wood and wire wall multi basket from PB Teen.
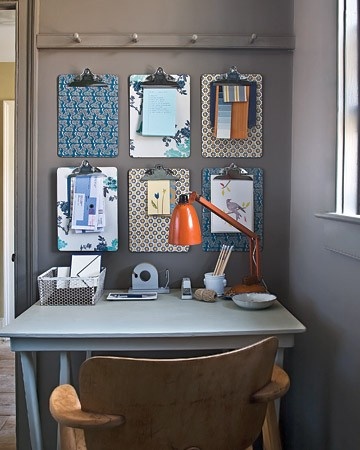
Photo via relaxpics.com
Take normal clipboards and spruce them up with your favorite scrapbooking paper, fabric, wall paper, or wrapping paper. Again, you can just use Pod Modge glue to make the paper stick to the board. After the clipboards have been decorated, decide where you want them hung. Mark with painter’s tape where you want the tops of the boards to go and use Command strips to stick the clipboards to a wall. In no time you will have a functional way to keep track of all your important documents.
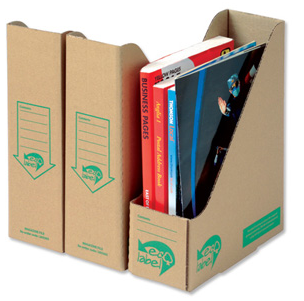
Photo via http://1.bp.blogspot.com
Magazine files are great resources for keeping track of multiple papers, books, or magazines. Take a cardboard magazine file and use any sort of wrapping to make the box match your office and style. Some of my favorite wrapping papers come from Rifle Paper Co. and Paper Source.
Keep up the crafting,
Olivia
For those of us who want to experiment with wallpaper without complete commitment, here are some fabulous options to try. Many of these examples are simple DIY projects that require cutting wallpaper to a specific size and pasting it on to different surfaces. These are great projects if you have leftover wallpaper from a project or just small scraps that you would like to put to use. Adding wallpaper to unexpected places such as bookcases or coffee tables adds color and pattern that can bring a space to life.
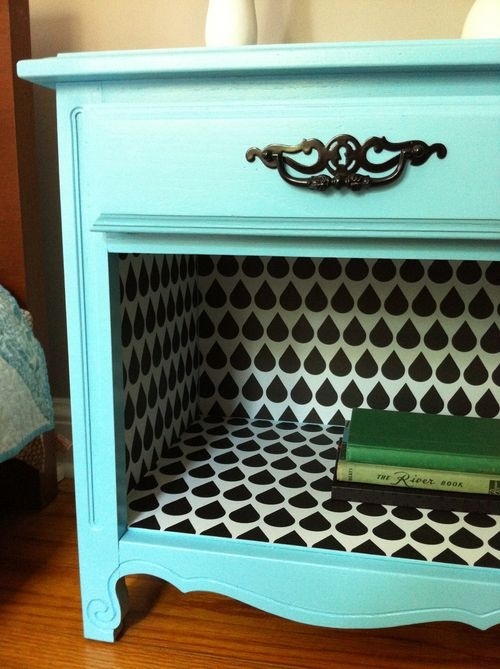
Photo via http://followpics.net/take-out-the-bottom-drawer-and-wallpaper-the-inside-i-love-the-way-this-looks/
Cover the Inside of a dresser
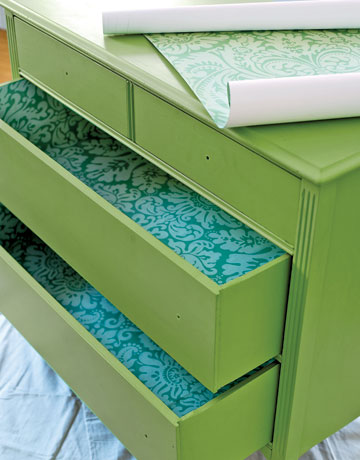
Photo via http://dishfunctionaldesigns.blogspot.com/2012/02/upcycled-dressers-painted-wallpapered.html
Use inside dresser drawers
Decorate the outside of a dresser
Add class to the closet
Make a door the focal point
Give worn books a new look
Frame wallpaper to make art
Put wallpaper on top of a coffee table to change its style
Have a wonderful time wallpapering,
Olivia